Hello lovelies! I am hoping this blog post finds you all well! I want to share a fun DIY craft with you to add a little something special to your wedding day (or makes a great gift!) without spending much more than a few bucks!
I love crafting. I adore crafting. I am somewhat (a lot) obsessed with crafting. For some reason each year I decide it is a good idea to hand make nearly every Christmas gift I give and this year was no exception. The moment that I find myself up to my eyeballs in paint, glue, ribbon, glitter, paper and more, I tend to second guess myself. However, when that long worked on project finally rounds the bend to becoming its final state…I do a little happy dance in my head and think, “Ah, that was worth it!” And really, it always is because personalized gifts are always more special than something just picked off a store shelf. This leads me to share my latest DIY with you.
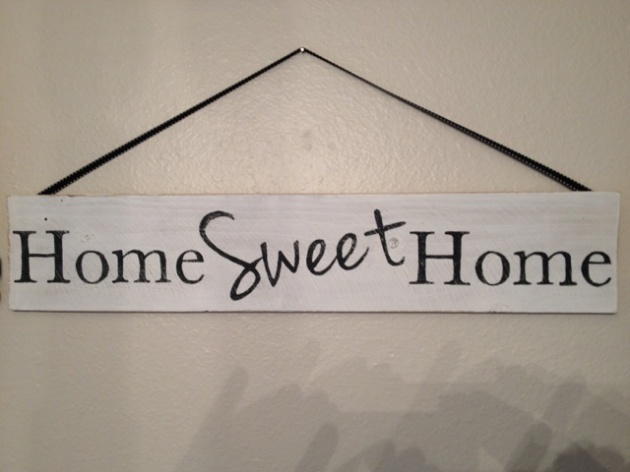
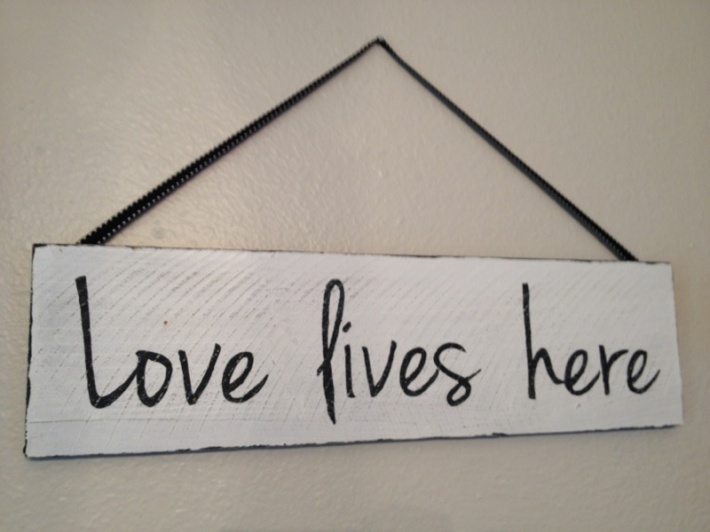
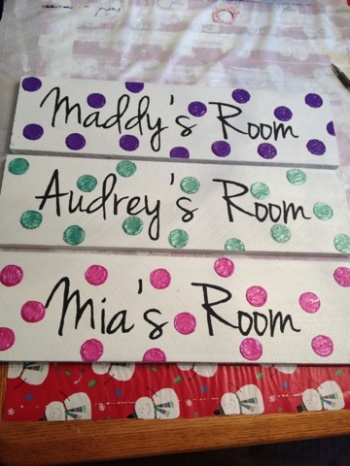
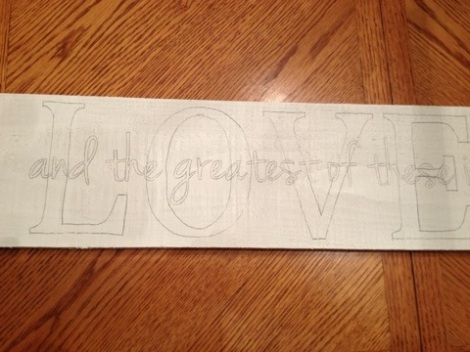
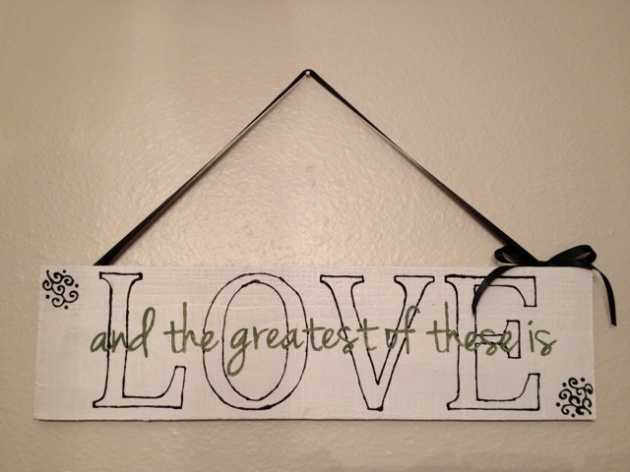
Over Christmas I made some adorable wooden signs for family and friends. I am a big recycler when it comes to crafting (yes, that bow that you gave me on my last gift is destined to become something else and probably returned to you in it’s new form.) Just before Christmas, I found myself in the midst of lots of unused 1×4’s in our shed (thanks hubby for building those planter boxes last summer!) . I couldn’t stand the thought of them just sitting there and had been wanting to make some cute rustic wooden signs for a while…so I put them to use. Here are a few pictures of the ones I created for gifts.
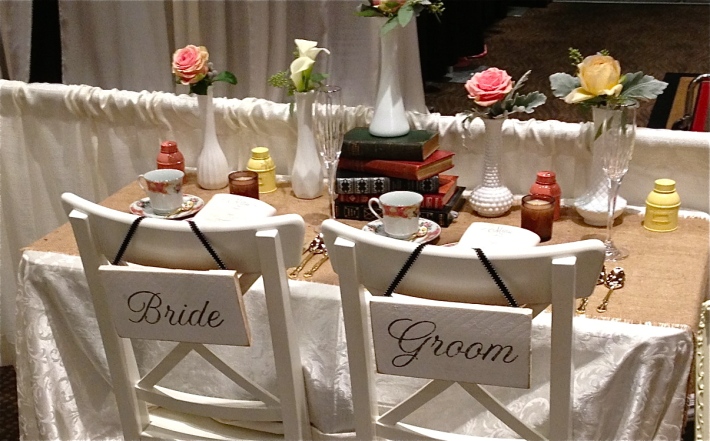
With the Northwest Bridal Showcase coming up, I knew I could incorporate some fun signs to put in our booth space. And so, began the project of Bride & Groom signs. I think they turned out pretty cute, don’t you?!
 And now for the [super easy] tutorial:
1. Find a piece of wood. Any scrap piece will do! Or, go to your local hardware store and buy one.
2. Sand any rough spots with a piece of sand paper.
3. Paint it. I used some plain ‘ol white paint that we had left over from painting our house, but you can use any color!
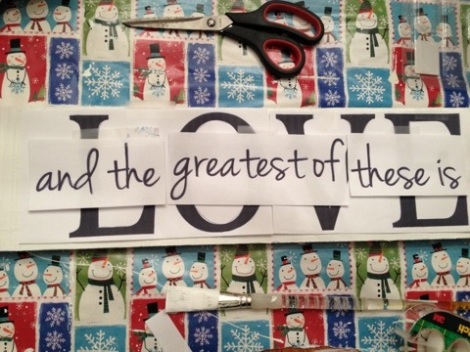
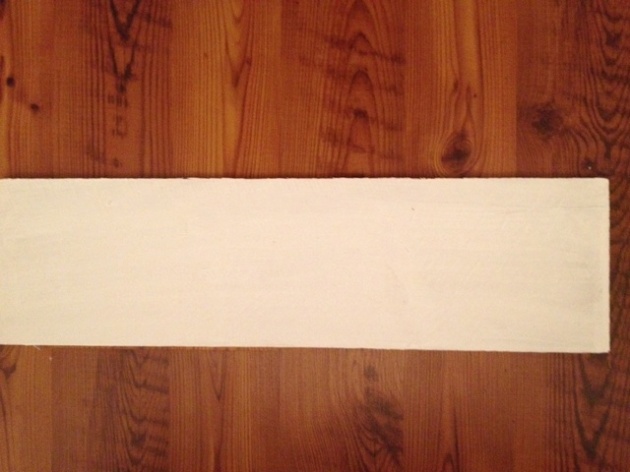 4. Print out whatever saying you would like to put on it. Just use Microsoft Word (or a similar program) to print the saying in a very large font size on regular paper.
5. Lay the printed saying on top of the board and tape it in place on one side. Only tape the paper on one side so that you can slip transfer paper underneath it. (excuse my wrapping paper table protection)
6. Slip a piece of graphite paper underneath your saying so that you can trace around each letter and transfer the saying onto the wood.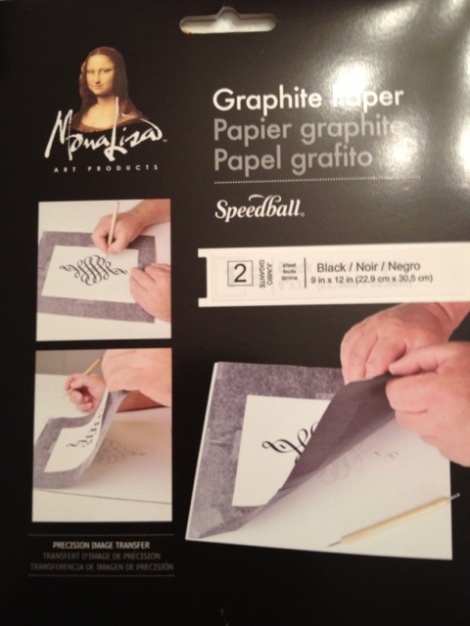
7. Using a fine paint brush, paint in the letters. Or just outline them…whatever you like. Here is the finished product of this sign. (I did not distress this sign.)
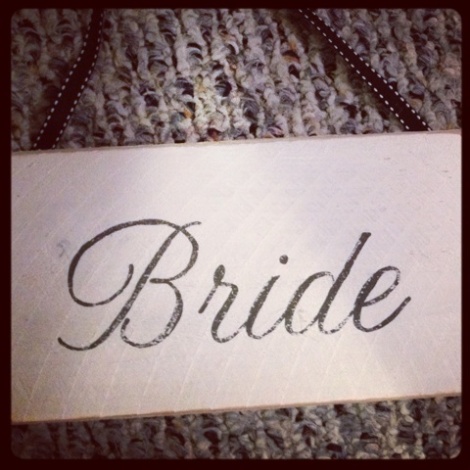
And here is a close up of the Bride sign. I did distress this one. To do so, take a fine grit sand paper and lightly sand over the top until you have achieved the desired effect.
8. Attach a ribbon with some hot glue or a nail and hang on the backs of your chairs at your wedding reception to add a little something extra special.
Happy crafting! Cheers!

